-
Template Parameters
- Adding your logo image
- Adding your logo text
- Applying custom CSS to a screensize/device
- Converting the top menu to a module position
- Editing content fonts
- Editing the Body/Default Font Size
- Editing the Template Width
- Editing your Copyright Information
- How to access your Template Parameters
- Module Style Overrides
- Setting up your Social Media Icons
- Understanding Layout Options
- Understanding Module Widths
- Using the Custom Code fields
- Using the Custom CSS field
To edit the copyright information at the bottom of your template click the Copyright Information tab in your templates parameters. From here you can edit the text in the Copyright field to your own taste. If you wish to remove the copyright text entirely simply leave this field blank.
Note that this field accepts HTML so if you wish to add a link to your copyright you can use something like the following..
<a href="http://www.joomla51.com">Joomla51</a>
The Body Font Size dropdown allows you to set the default font size for your template. Options in this dropdown are Small (12px), Medium (13px) and Large (14px).
Note that this will exclude elements where the font size is set via the templates CSS for example menu items, article titles, module titles etc.
If you wish to use a font size not available within this dropdown, you can also set the body font size via the Custom CSS field using something like the following...
body {
    font-size: 15px !important;
}
Where 15px is your new body font size.
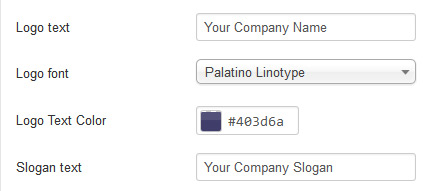
By turning off the image logo option within your templates parameters your logo will revert to a text based logo allowing you to simply enter your site title and slogan via the available fields. Your logo title and slogan text will then appear in the header area of your template in place of the logo image.

Options are also available to edit the font and color of your logo text as well as a field to include a slogan along side your logo.
Each template allows you to upload your logo image directly from within your template settings. When you first install a template you will notice a placeholder logo already in place. This placeholder logo will be replaced as soon as you set your own logo image. Options available regarding the logo can vary but in general the process of adding a logo image remains the same across all templates.
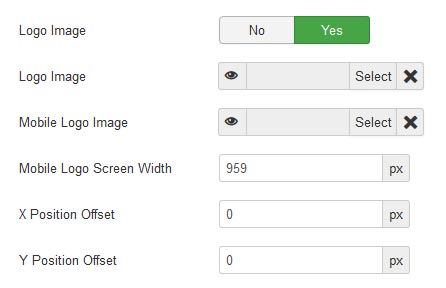
- Navigate to the General -> Logo tab of your template settings. In older templates this option can be found in the root Logo tab.
- Ensure that the Logo Image field is set to Yes
- Hit Select in the Select Logo Image field
- Upload your logo to your server
- Select your logo and hit Insert
- Tweak the image location using the X (horizontal) and Y (Vertical) fields
- Save your template style

Some of our more recent template releases allow you to set an alternative logo image for small screen devices via the Mobile Logo Image field. You can define at what screen width this image will be used via the Mobile Logo Screen Width field. Any screen width below this width will display the logo image set in the Mobile Logo Image field.
When creating your logo image it is often best to save the the image in PNG format. This gives you the option of having a transparent background to your logo, allowing it to blend seamlessly with your template.
It is also worth noting that the X and Y position fields will also accept minus figures if you wish to move your logo left or above its current position. Eg. -20 in the X Position field will move your logo 20px to the left.

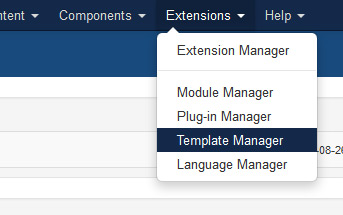
Your template parameters can be accessed directly from your Joomla administration by simply clicking a template style of your template within your 'Template Manager' (Extensions -> Template Manager -> [YourTemplateStyle]).
When you install any template in Joomla a default template style is automatically created for that template (YourTemplate - Default) however more styles can be created for that template by simply clicking the Save as Copy option from within your templates parameters. These styles can in turn be applied to the menu items of your choice via the Menu Assignment tab. This will allow you to assign different template settings to different pages across site.
